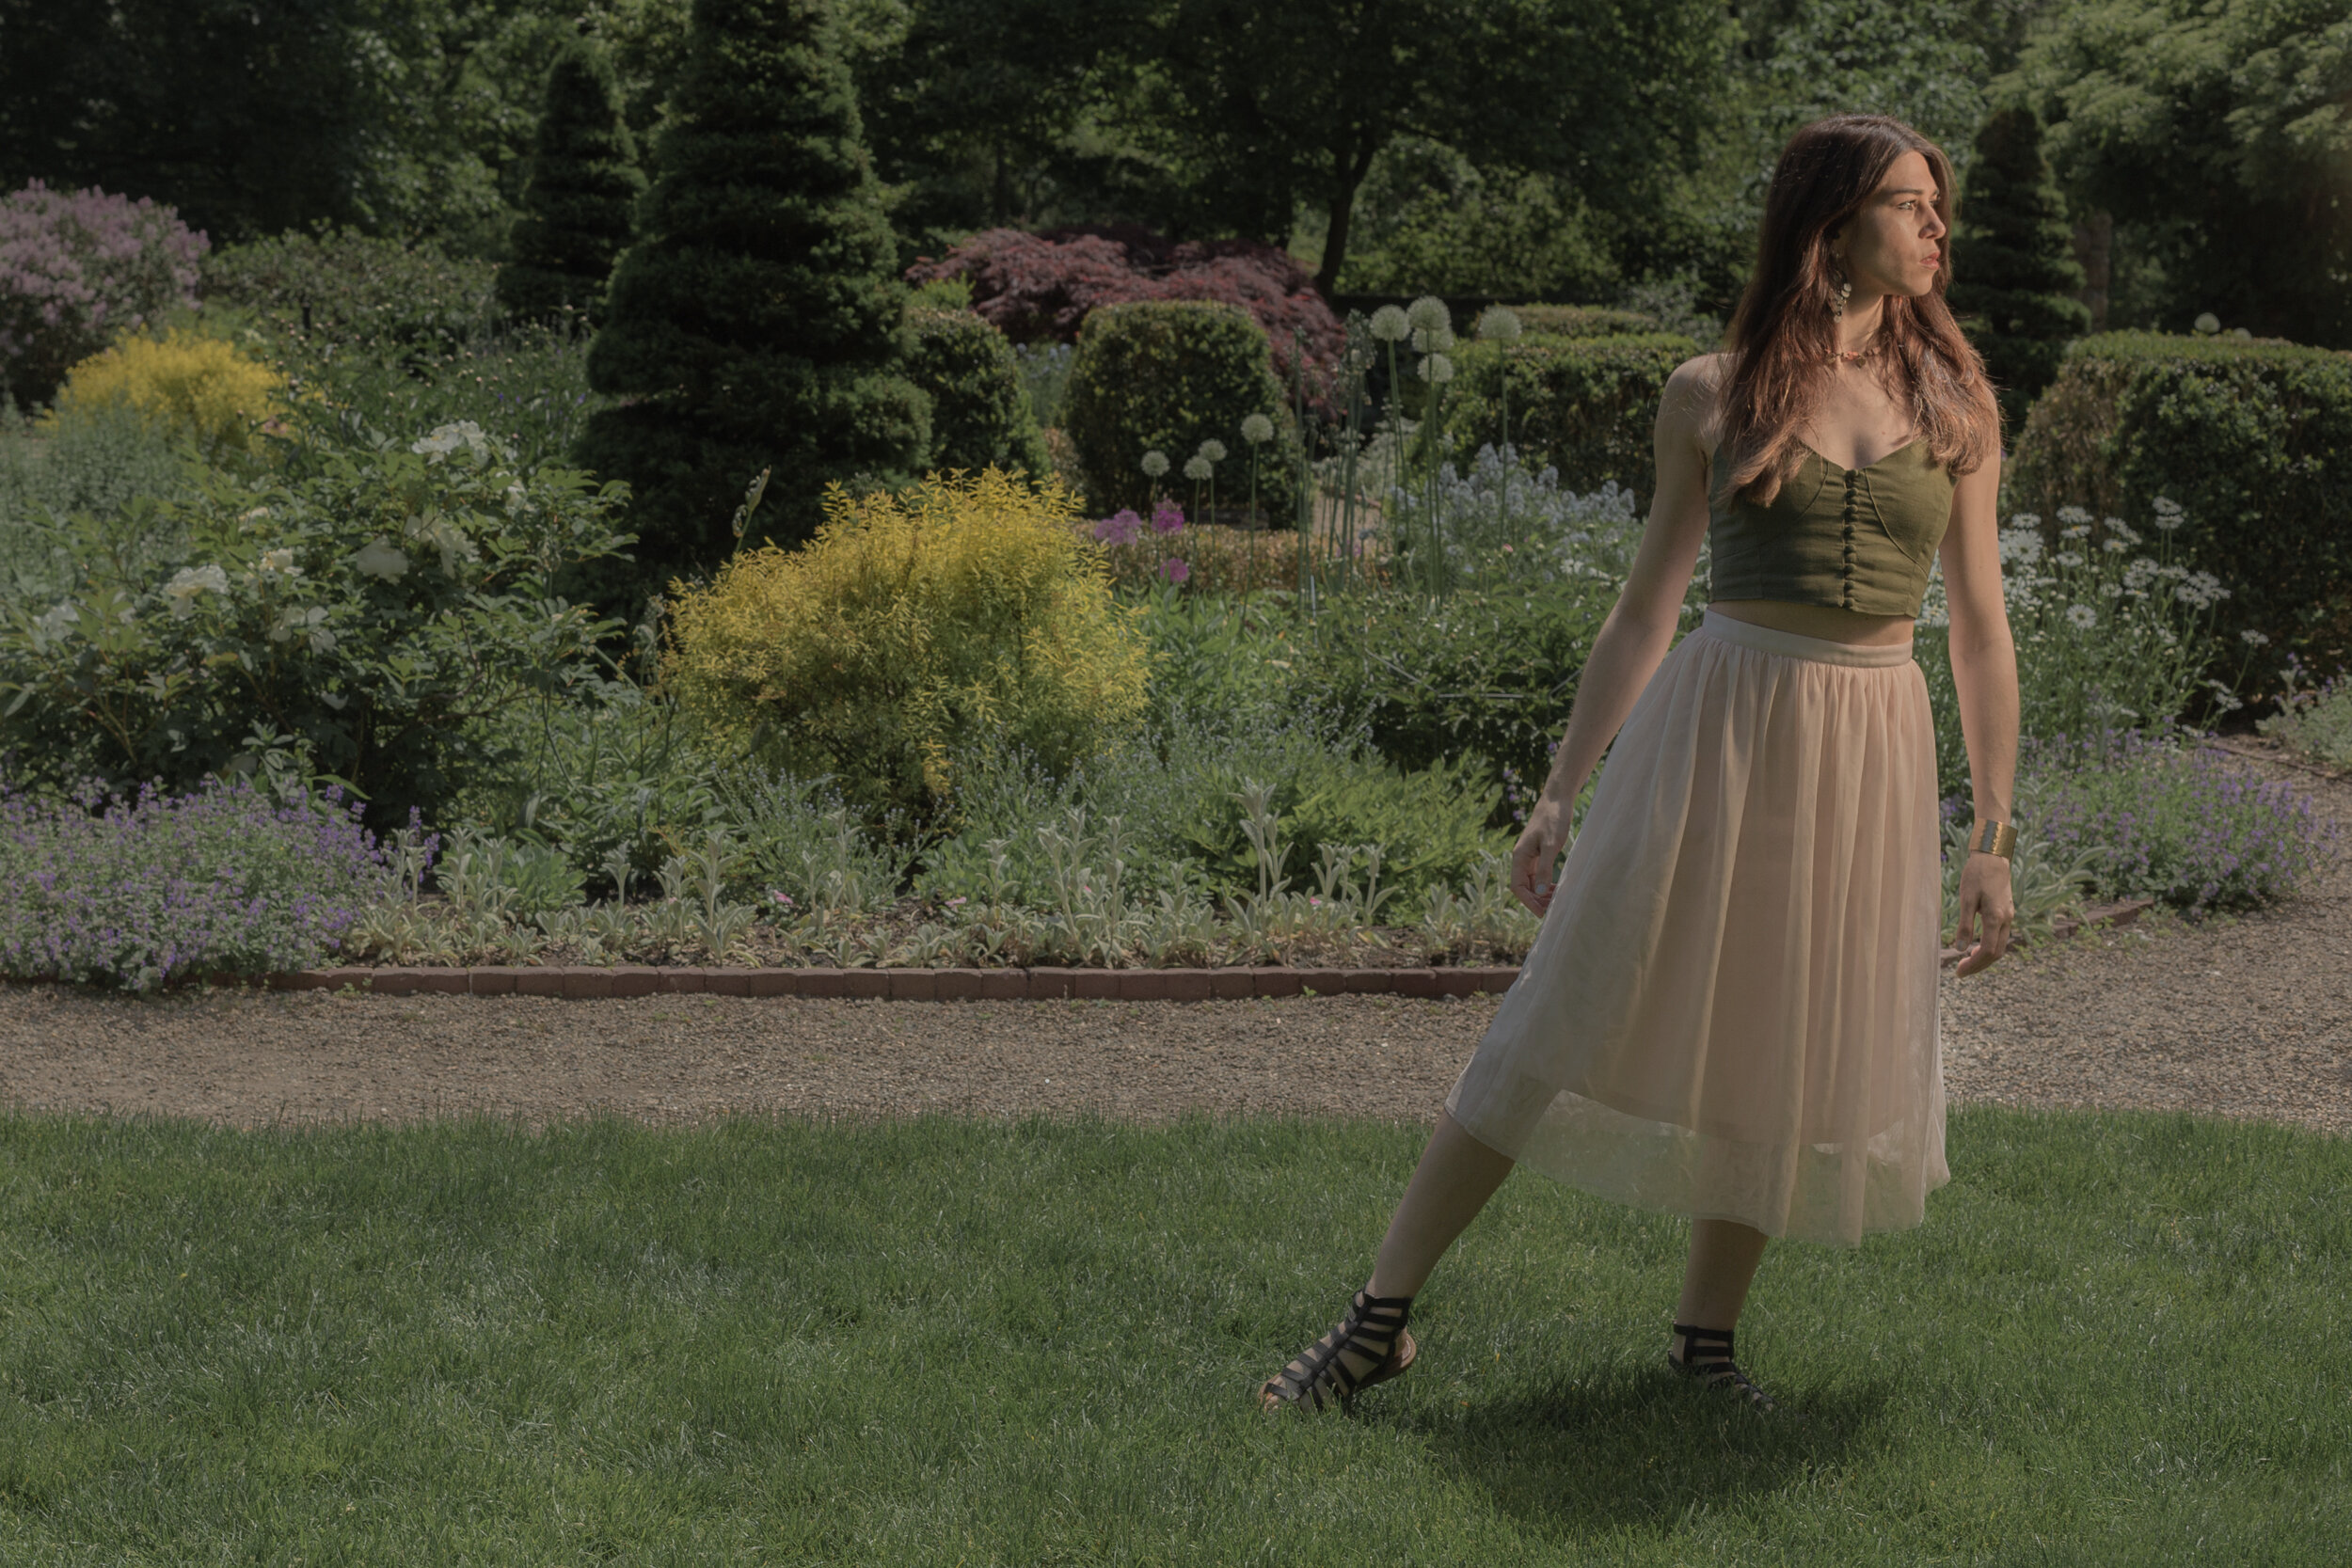
I met Maribel for a casual shoot later in the morning at John J. Boccuzzi Park in Stamford, CT. Maribel is an emerging CT-based editorial model with an impressive portfolio. Click here to find her on IG!
The sun was directly above us, and I shot all sequences in ambient light exposing for highlights. Shooting under direct sunlight makes deeper shadows and brings out textures, so positioning the sun behind the subject makes shooting more manageable. We started this session in undercast light and moved on to using filtered light from a set of blooming trees which always remind me of impressionist paintings.
I edited my selection for this post using split toning to compensate for flat lighting and get better control over contrast. With split toning, color becomes incredibly useful to create mood, and photography gives more leeway to design thinking. There are many ways to add harmony with color management, so whatever I can learn is enough to keep me interested!
I enjoy the subtle transitions made possible with split toning. Although using filters or presets makes them easily attainable, doing them manually gives me greater control over shadows and highlights. I prefer to experiment one picture at a time and be intentional with tonal variations like warm to cool or complementary color harmony.
Split toning adds a painterly quality to a digital file. It's also an editing technique reminiscent of film photography. However, I wouldn't compare split toning to either or. Split toning is a great tool to build images. I feel the outcome will vary if done with a planned approach and not to counteract technical shortcomings.


Hello!
I hope you found this blog post useful!
I retain my curiosity by documenting my creative process. Writing allows me to engage in self-dialogue and validate what I do. I'm always interested in connecting with creative people. Click here to connect!-
-Hernan